
Building in Storyline 360: Drag n Drop Calculator
Grab a bobatea. This is a long one!
Goal:
Become familiar with the Storyline 360 interface and some simple interactions.
Solution:
Finally got that 2 month trial of Storyline up and running. My first instinct was to just explore on my own, converting that same grammar lesson into a Storyline activity, but I wanted to optimize what little time I have with it, so I searched for some tutorials to challenge myself with. Once I built this, I had to figure out how to show it to you, visitors, but for some reason, it was not loading on my domain. Thankfully, Articulate allows full cross-platform compatibility, so I was able to publish it to 360. <– click here for the live site!
Outcome:
I had a lot of fun with this.
Drag and drop is such a popular interaction, I went with tutorials where it was used in conjunction with state changes, variables, and triggers. I was able to complete 3 (4 if you count the menu) interactive slides whose characteristics I could use in future trainings. The final activity was the most difficult, but by succeeding in it, the most fulfilling as well! I intend to expand it to be as robust as the original. I’ll explain.
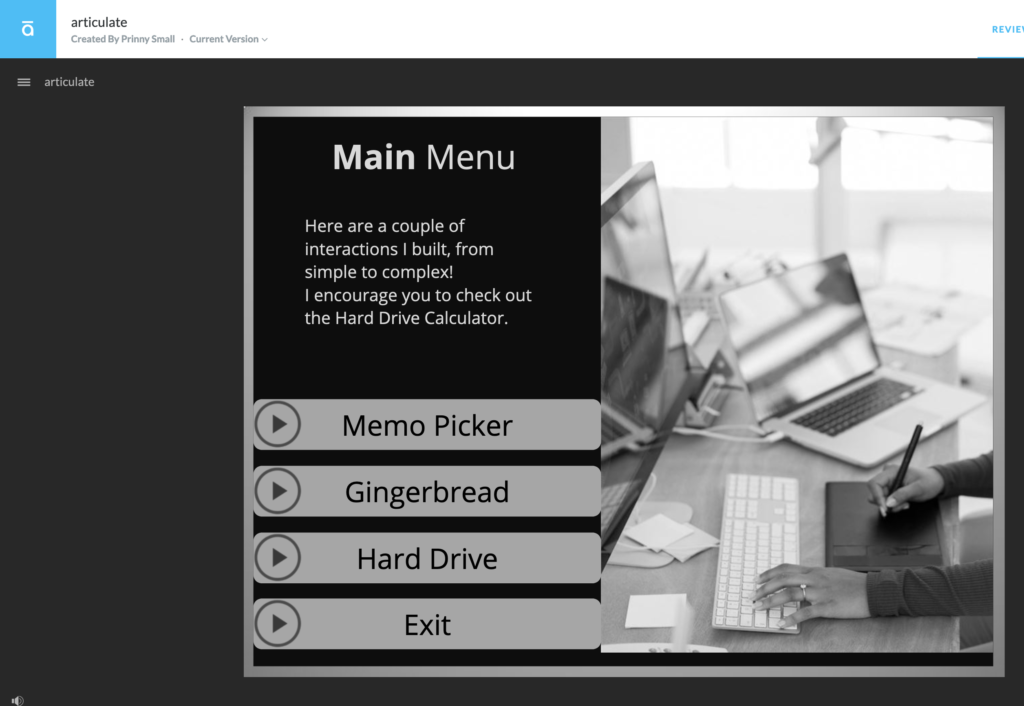
The first interaction I created in Storyline was the menu, which I did using the “Creating Your First Slide” video from Articulate 360. They went over super basic things, like cropping, colors, and states, which, as you can see from clicking, I didn’t quite get right. The glow should only happen when you’re hovering, and I don’t have a visited state for the buttons. Now I know how to do this, so I can fix this later. It would also be great to change the icons from the play button to something that makes more sense. The Exit button doesn’t do much as there is nowhere to exit to.

Second interaction was the Memo Picker, also an Articulate 360 video titled “Adding Interactivity with Triggered State Changes”. They go over a few different ways to change the character and “paper” states and I appreciated how the format paint tool can be used to cut down on repetitive coding. Here, again, some of my states aren’t what they should be. I need to unclick the “Return to normal state” box when I go back into the Drag and Drop settings so that the visited state remains once you click on a letter. I wasn’t being terribly choosey here about whether I wanted you to click or hover, but you can see things happen when you do either. I also got to work a bit with icons, which I haven’t done a lot of. I didn’t realize they were so versatile, maybe too versatile, as you can see in the clipboard being wonky.

Inspired by the holidays, the next most complex interaction is the Gingerbread ingredient…thing! I was guided by this video by Mark Spermon. I went through a few changes with this one, and, like the ones before, I certainly want to change it up in the future. Right now, you drop them on any target in any order and it keeps the choice, shrinking it down to be tiny, and possibly overlapping. That’s okaaay, but better would be to have to add the ingredients in a specific order, and have the state of the bowl change to reflect that it’s correct, and if it’s not correct, have the ingredient snap back. I think all of this is possible, but I just have to apply what I learned in my final interaction…

The Drag and Drop Drobo Calculator! Thanks a lot, David Anderson, for the video. I’m not sure why I decided to jump in the deep end, but I’m glad I did. It really helped to grasp the depth and possibilities with the tool, and I’ll likely try another “advanced” tutorial just to get that same depth and experience. I am happy with how this turned out. The only things I would change are to ADD to the server selections, TB selections and open up the remaining slots on the Drobo.
Lessons Learned:
Unless I’m missing something, you can only arrange for one correct answer in the drag-n-drop form. When I developed an interaction where a user can put more than one item in a target, I was having issues creating the same state-change as the perceived “correct” answer. I was actually stumped by this for about 20 minutes. Then I simply made another trigger that mimicked the correct answer’s state-change. Whew! Still, I feel like there must be a way to have multiple answers for one target, right?

Organizing your triggers and variables is a bit tough. Being able to collapse the menu is helpful, but I got cross-eyed looking at that panel. But I liked how it self-corrected where triggers/variables were. I’m not sure, however, if it tells you if you have accidental duplicates. This was the hardest part of the Drobo.
I love “replace image” and “format painter”! Where have these been all my life? Kidding. Kinda.
I did not opt to put all my calculations for the Drobo on a separate layer, but I understood David’s reasons, and I hope to use layers in the next project, which will be about accessibility for drag and drop.
Do you remember your first foray into Storyline?
How did it go?
What did you struggle with, and what turned out to be easier than anticipated?